界面布局
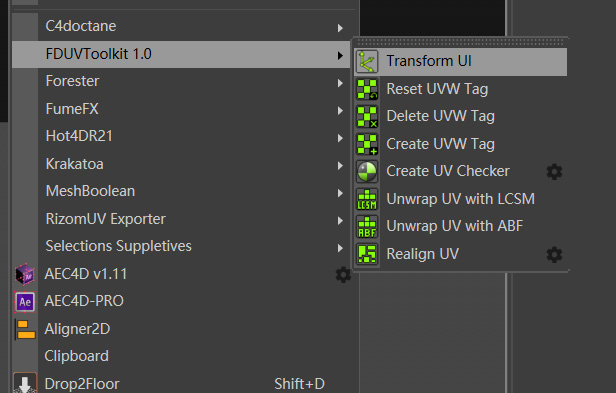
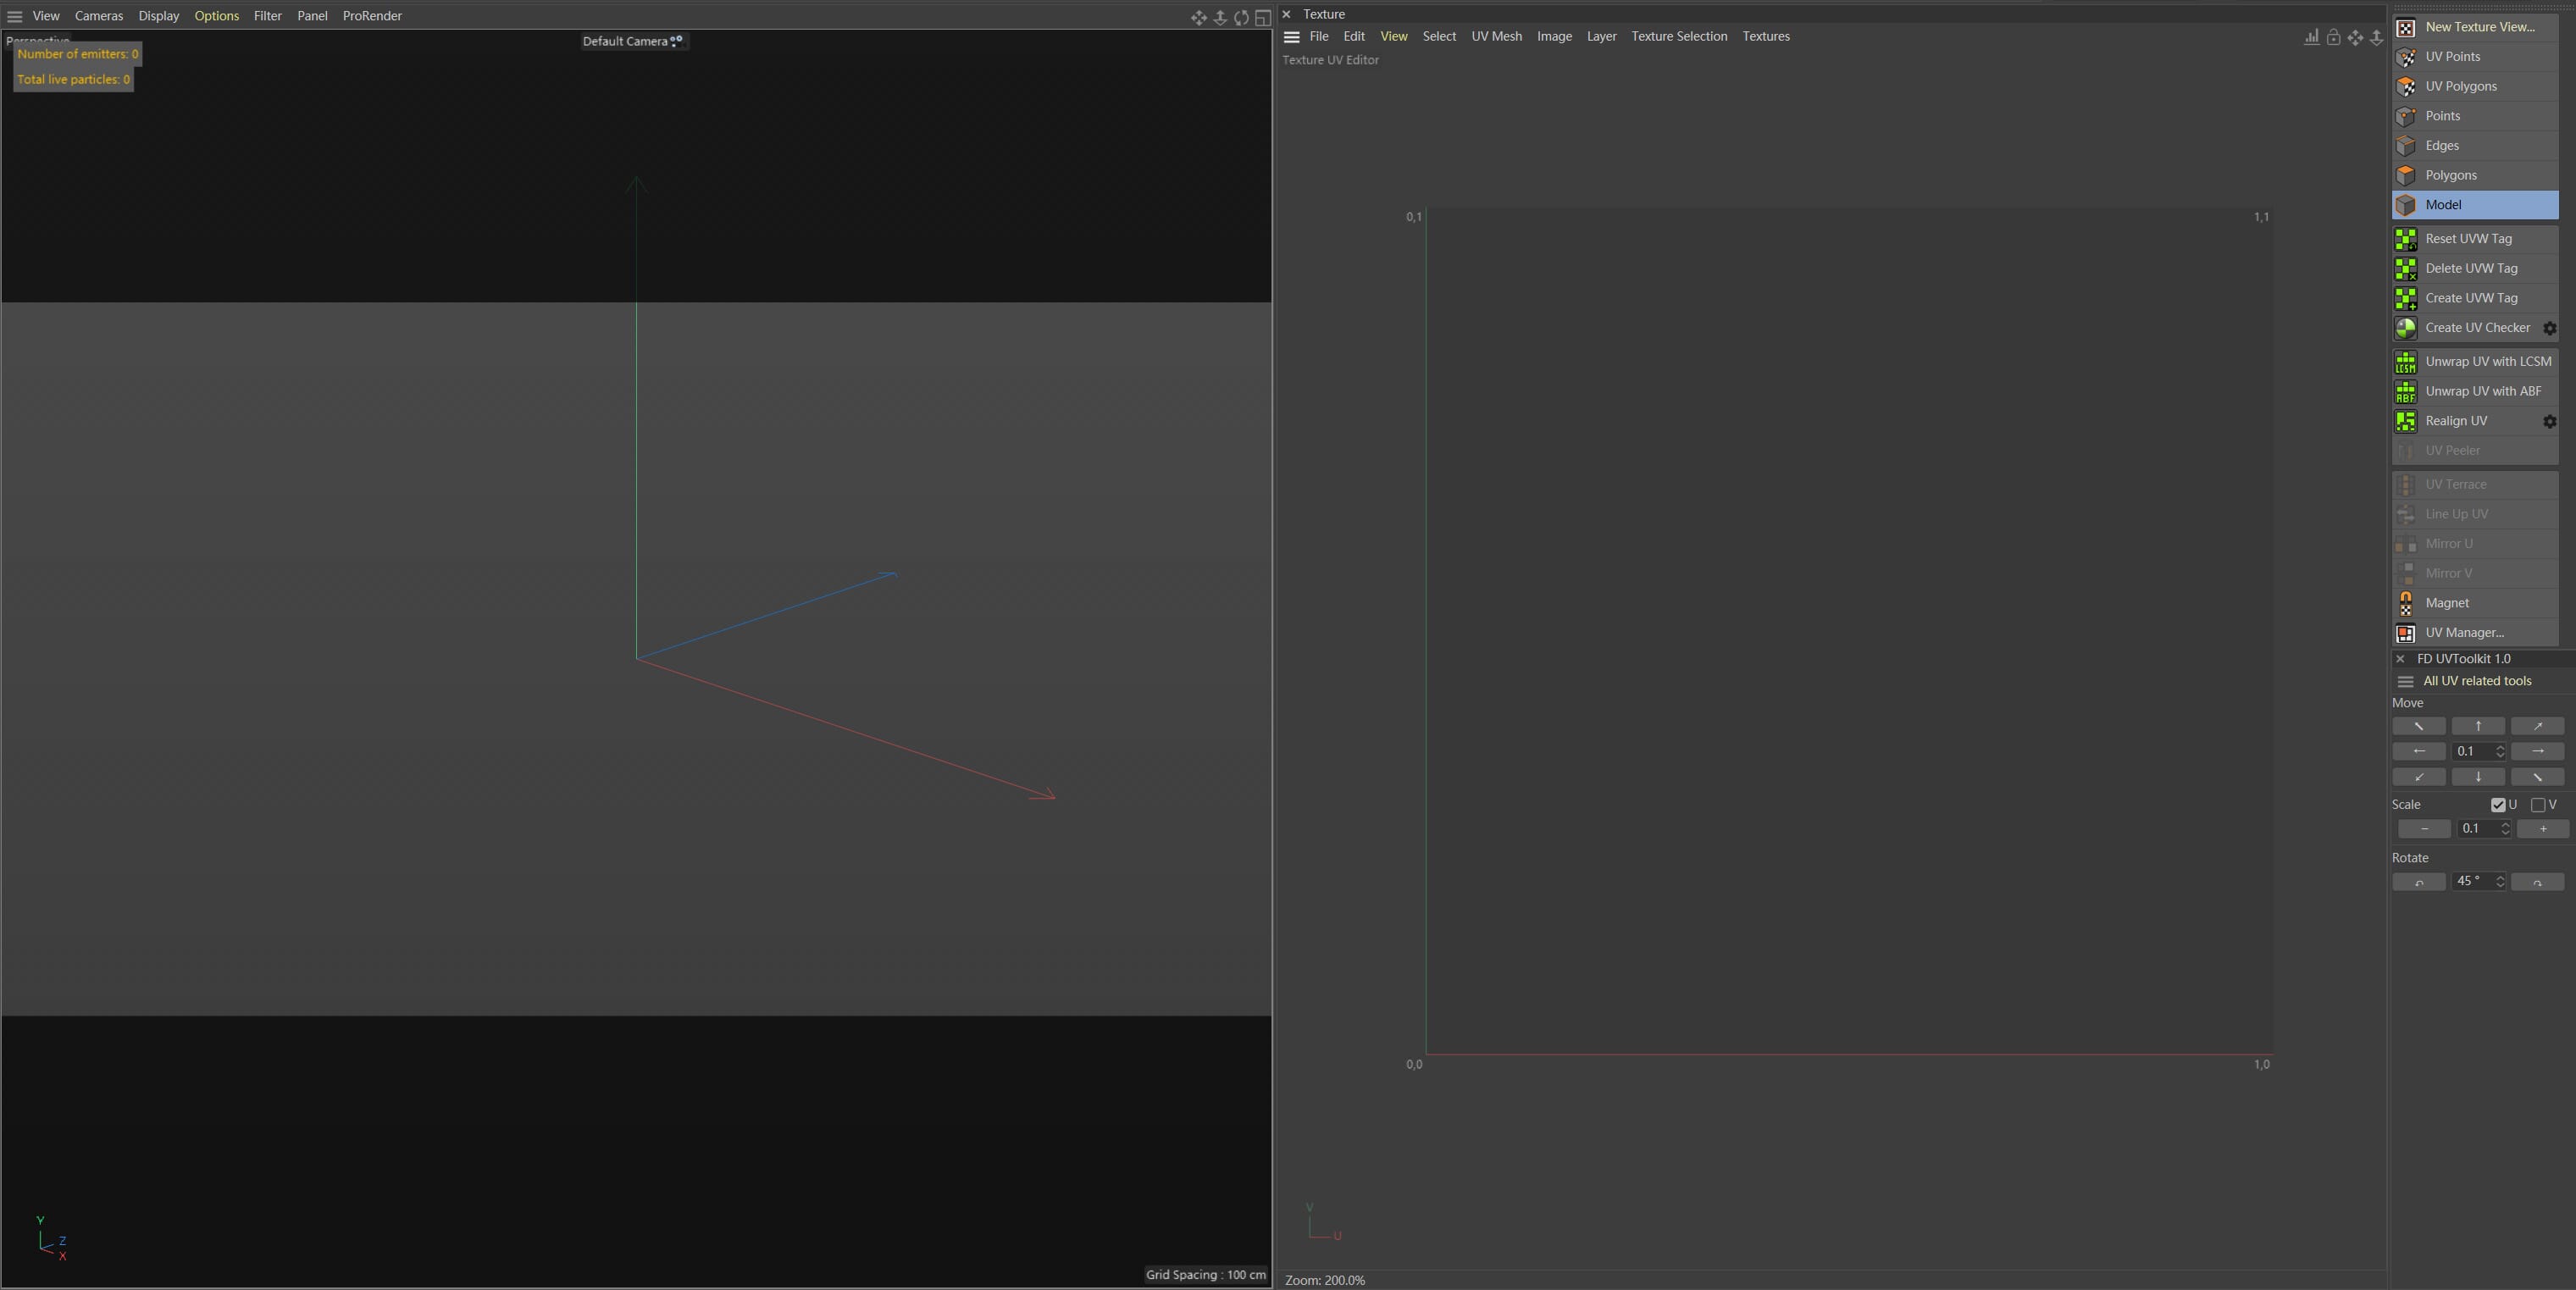
首先找到该插件目录下的FD UVToolkit.l4d文件,拖到C4D窗口,你会发现多了一个该插件的布局面板。
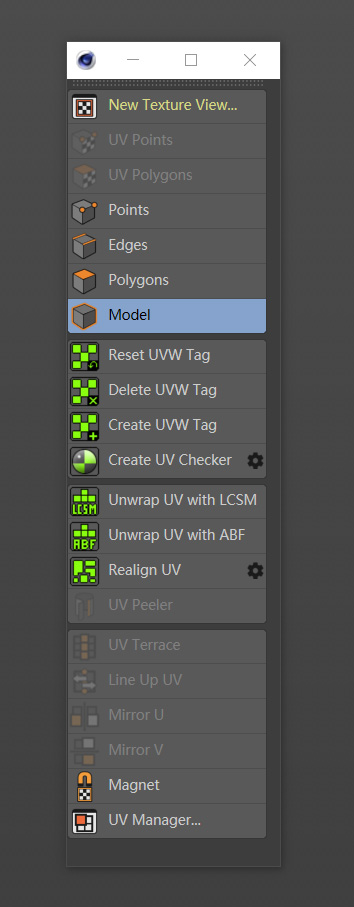
然后点击第一个New Texture View……,会弹出一个UV编辑窗口。再点击插件里的Transform UI,会弹出一个控制UV的面板。
最后调整下界面布局,记得保存布局。
使用教程
选择要拆UV的模型,点击Reset UVW Tag,重置UV信息。
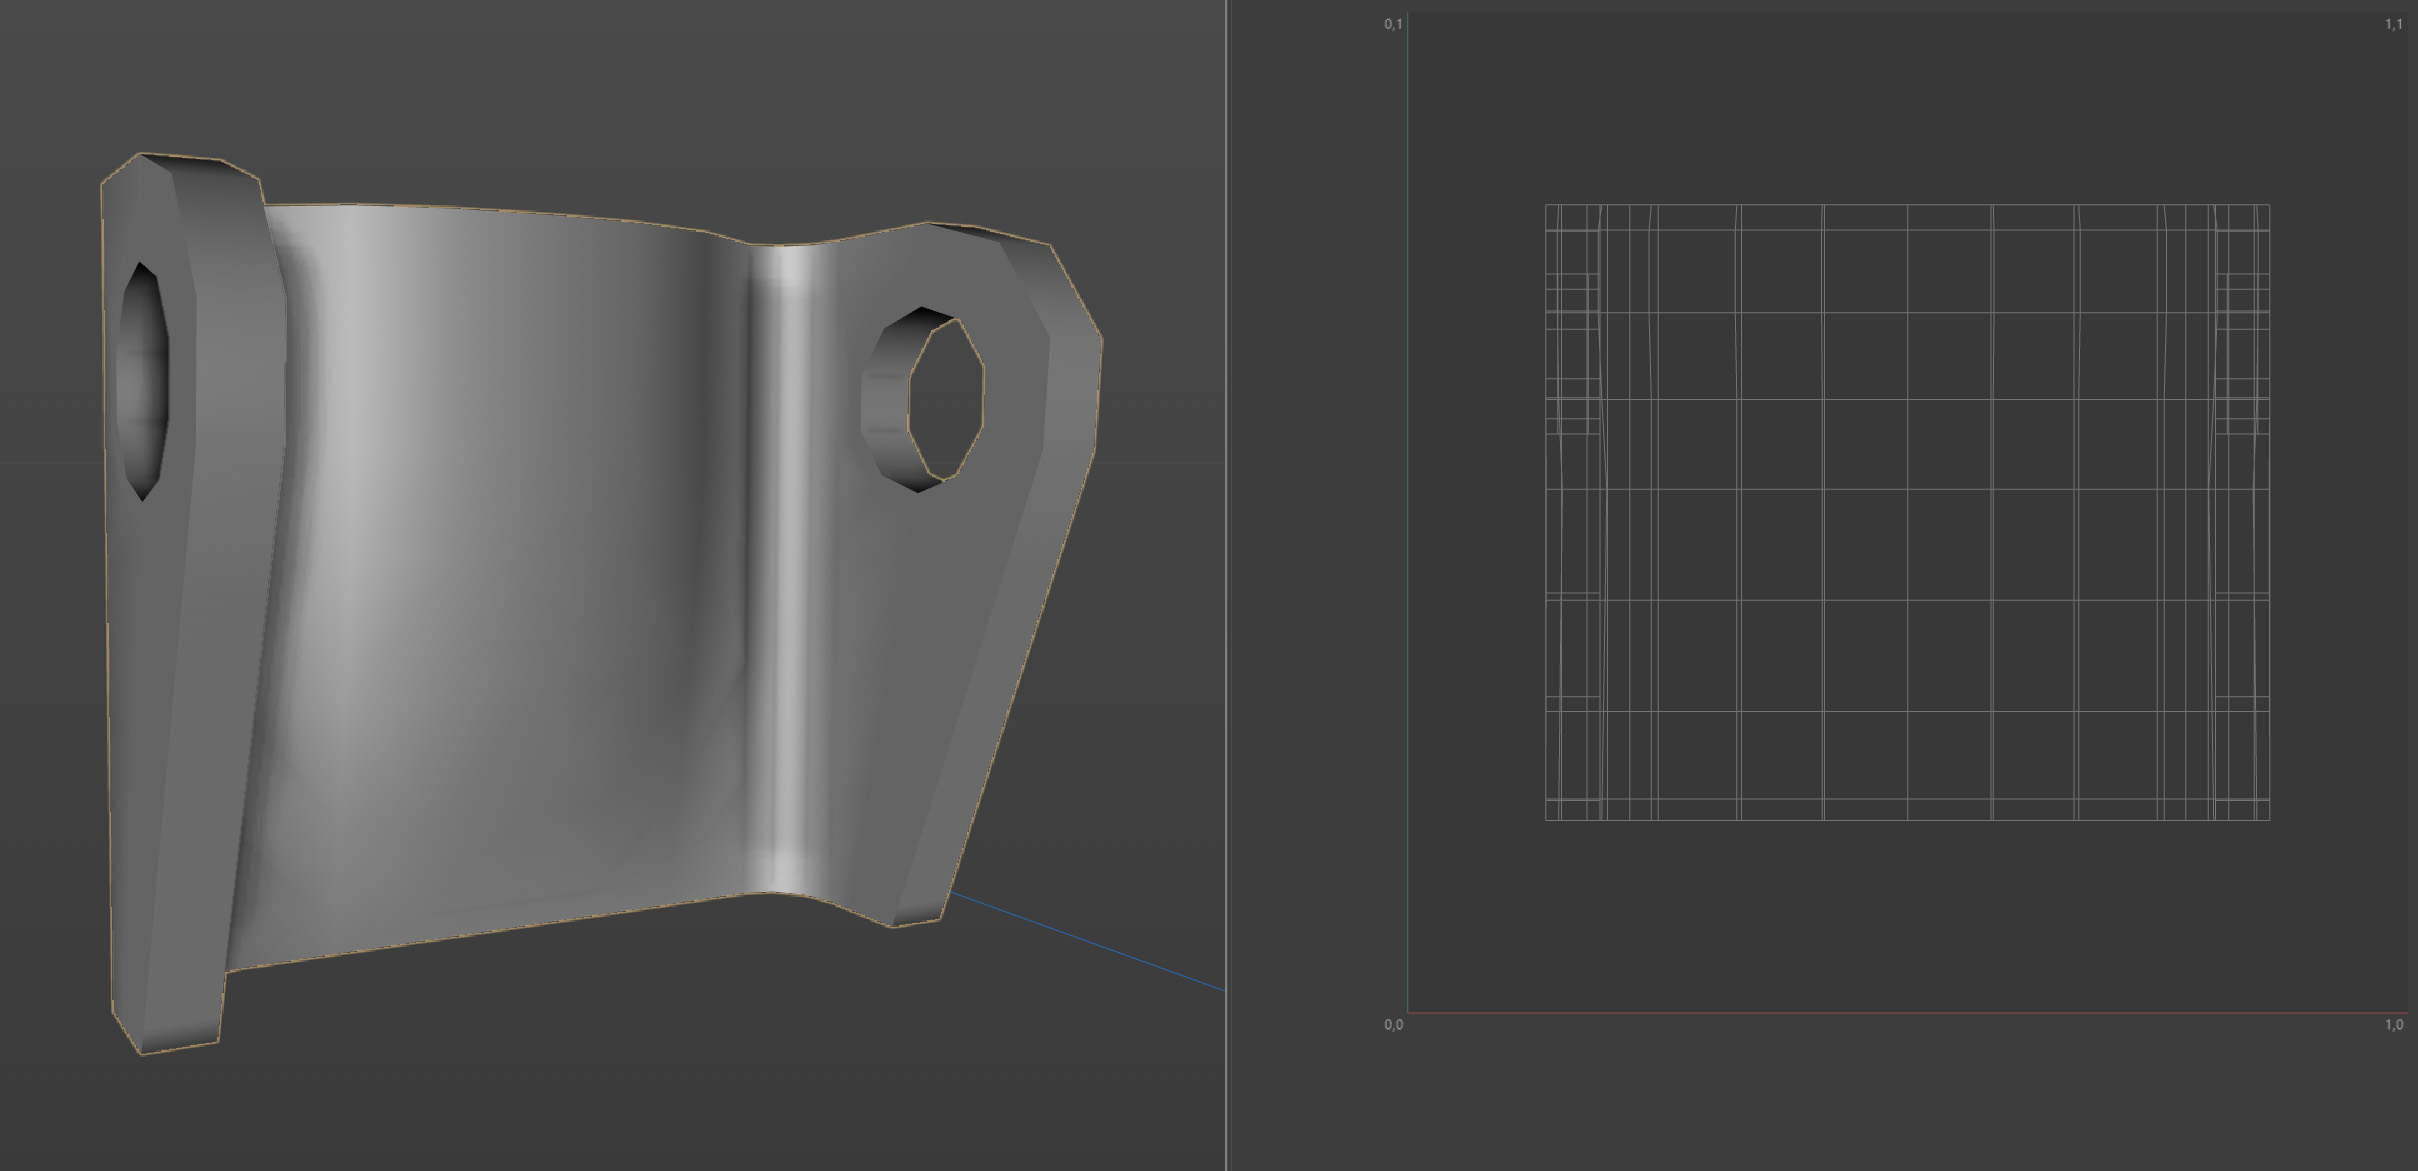
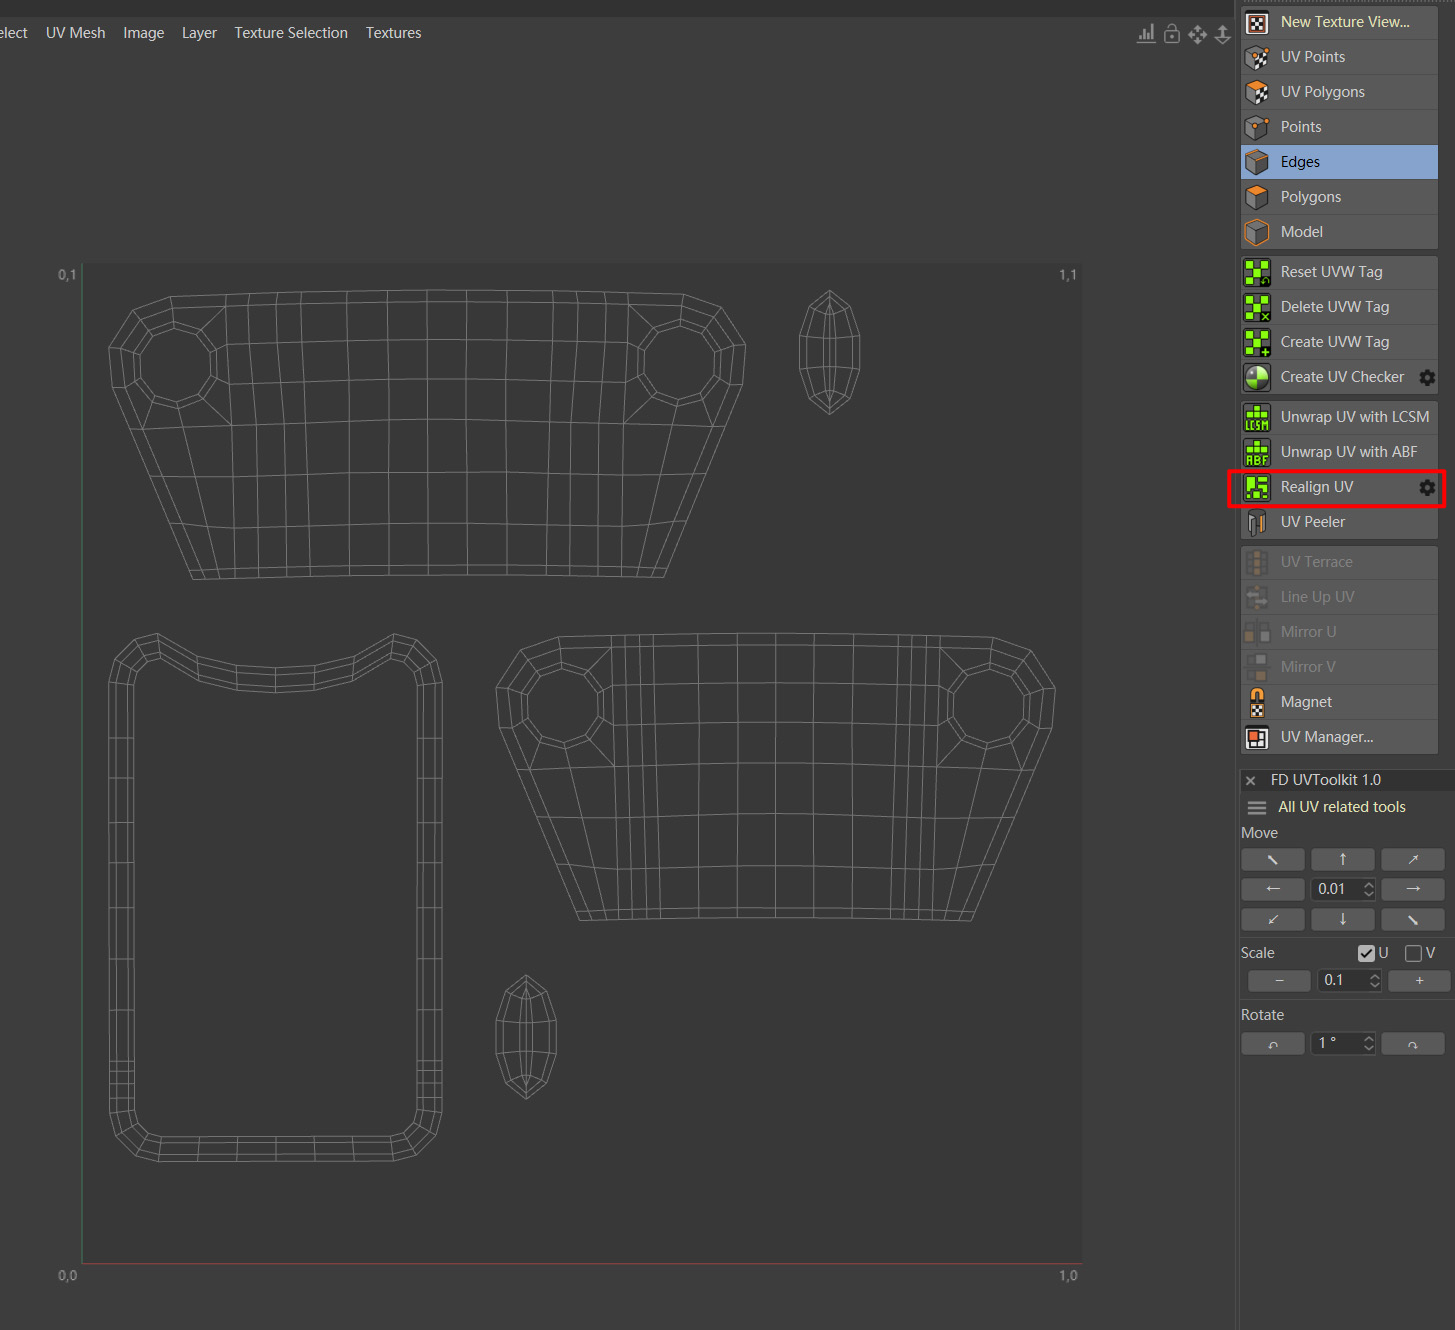
切换到边模式,选择要拆分的边,点击Unwrap UV with LCSM/ABF。
- Unwrap UV with LCSM:采用了C4D自带的LCSM算法,适合硬边模型。
- Unwrap UV with ABF:ABF效果好,但是速度比较慢,更适用于有机模型。
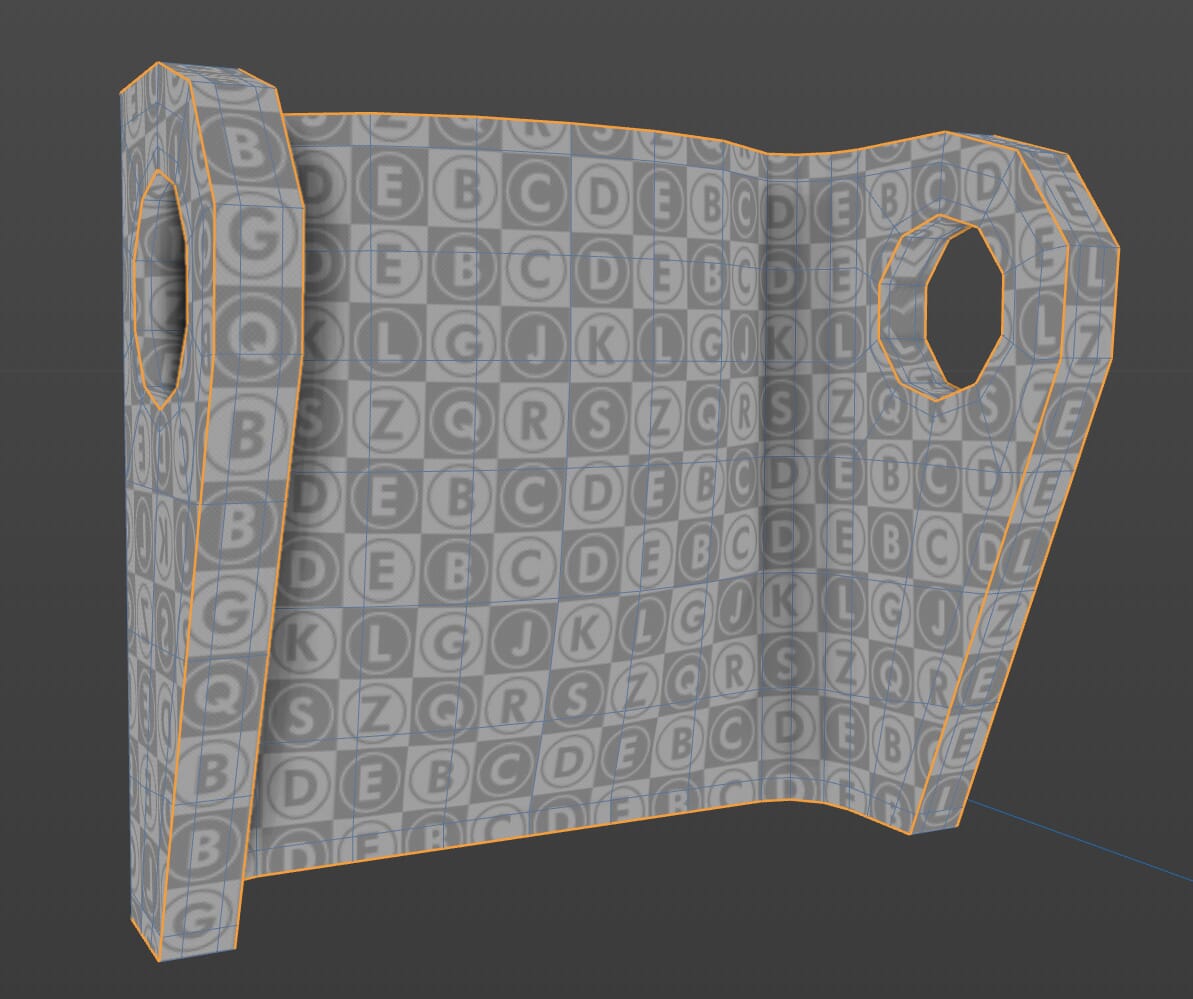
点击Create UV Checker,可以创建棋盘格检查拆分UV的效果。右边的黑色图标可以设置贴图的分辨率。
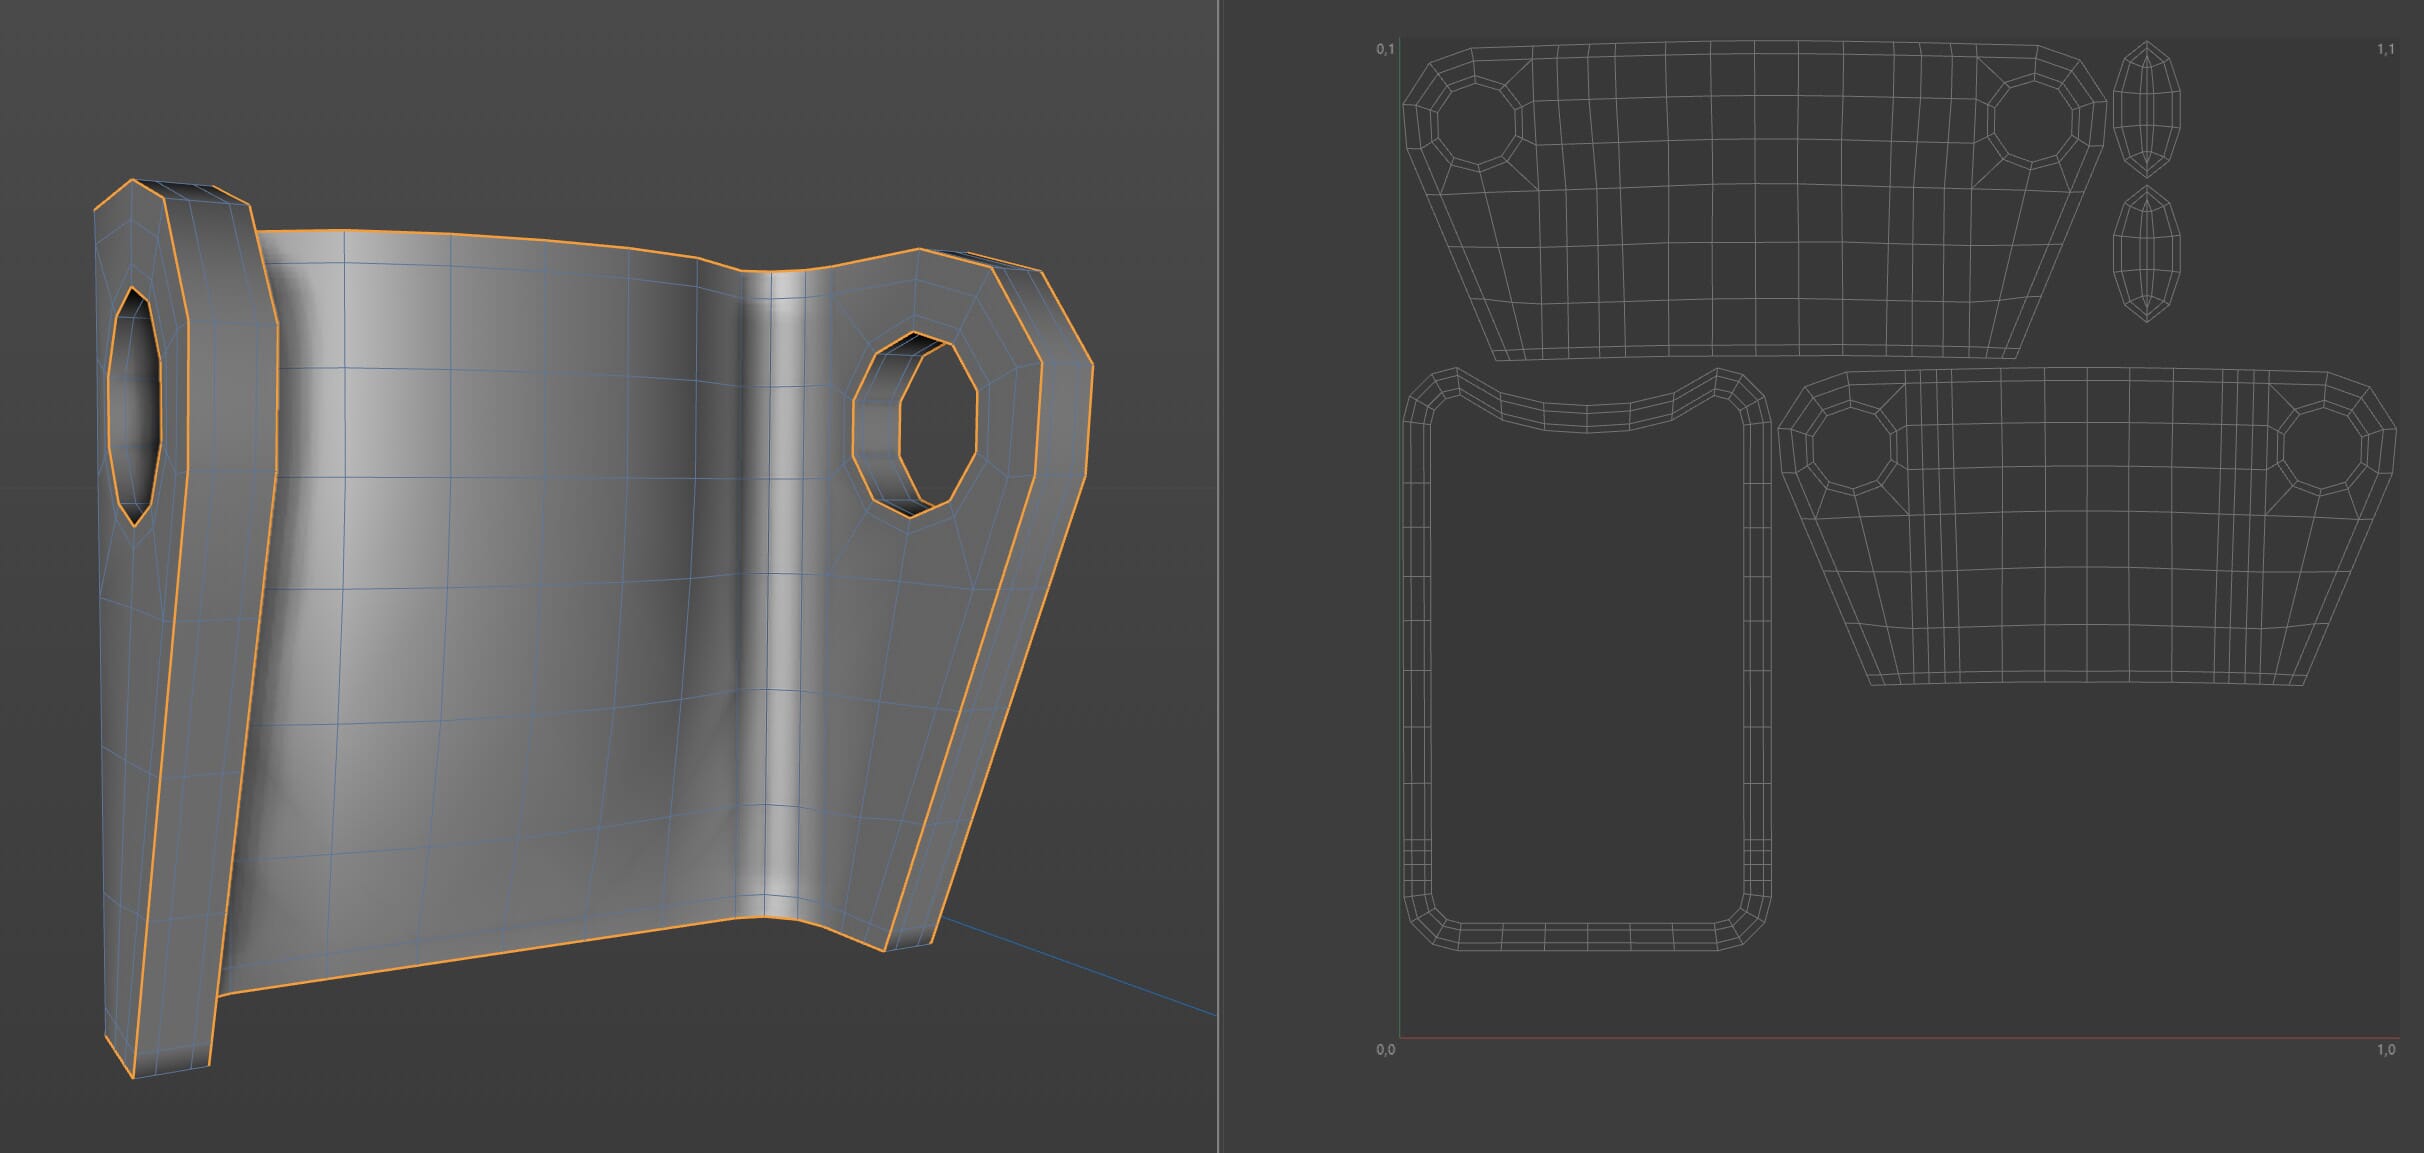
到这里,初步拆UV就完成了,如果你想更精细的控制UV,可以使用Transform UI工具。
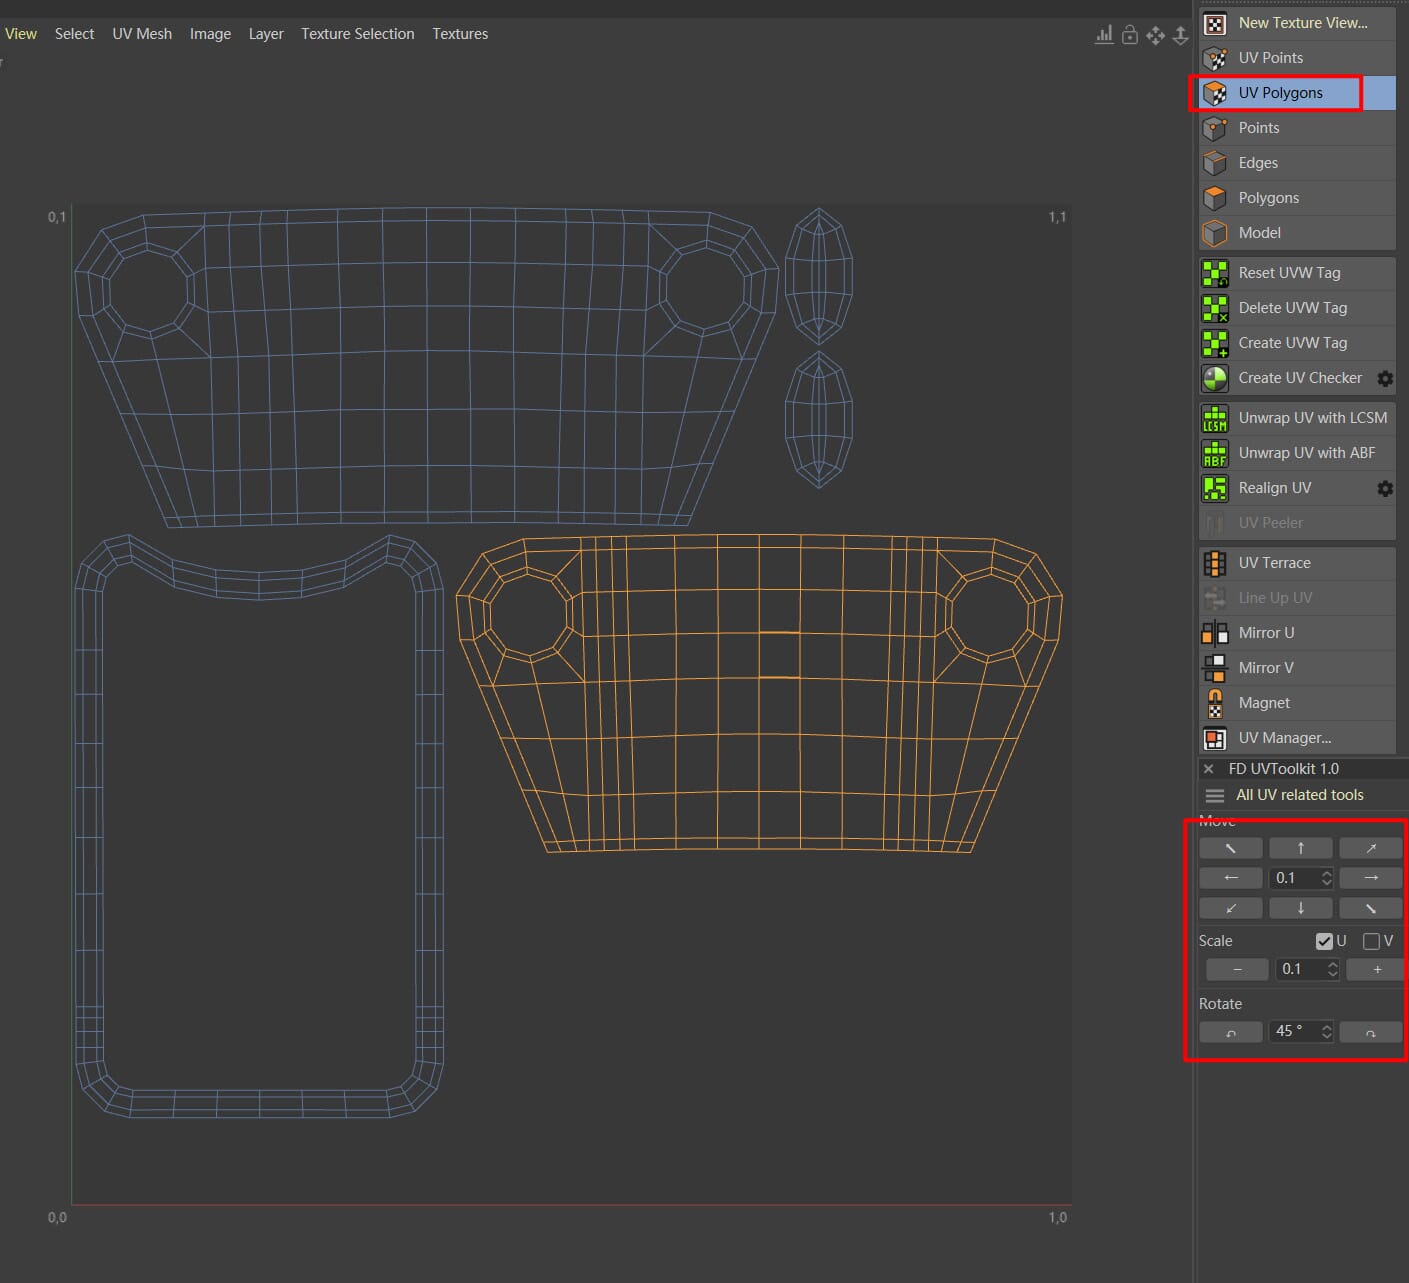
切换到UV Polygons模式,双击选择你想调整的UV,Transform UI工具可以通过数值精确地调整UV的位置、缩放、旋转信息。当然你也可以把数值设为1,用来移动到UDIMS空间。
你还可以通过Realign UV控制被拆分UV的间距,点击按钮右边的黑色图标可以设置具体数值。